Additional DIO-Boards of the DCi Control Electronics
From Wiki
The DCi Robot is shipped with one DIO module as standard. Should you require additional digital inputs and outputs, two additional DIO modules can be added. The hardware installation is simple, however, you need to get access to the underside of the robot.
Hardware installation
- Bring the robot into the referencing position, so that you can later turn it on its side.
- Turn off the robot and disconnect from power source.
- Turn the robot on its side. Once flipped one its side. You will see the electronics modules installed in the robot.
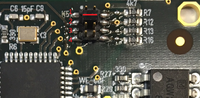
- If there is only the standard DIO module installed, set the Jumper switch of the module to be installed to the position shown in figure 1